My cycling dress and a wool jacket.

This is the second dress I made. In the end of the second (last) year we had to make a dress and a coat/jacket. Most made a more complex dress and a really easy cover but I tried the opposite. The dress was fairly simple and I managed to finish it real quick so I had more time for my jacket.

img_3052

I call it my cycling dress as it’s short enough not to get in the way but long enough not to reveal too much. Also, obviously, it has bicycles printed all over it.

img_3378

It’s made of two top pieces and basically two rectangles for the bottom part. The last one is just gathered together and fitted to the top – really simple. I also added bright green binding that had some cool crochet-looking lace picots on it.

img_3382

I’m quite pleased how it worked out. I like the simplicity of it. I will definitely enjoy cycling with it whenever there is good enough weather for it.

kleit
Photos: Karlo Salu.

As I said, the jacket was more complicated. The wool fabric I used was really easy to unravel and gave me some pain. I also had a hard time finding the right thing for marking the pattern on the fabric – nothing would stay on or show. Ordinary bar soap was good enough although it too faded when I had to put it in the bag, for example.

img_3039

Also the instructions for it weren’t always so clear plus my teacher tried to explain it in totally different way than it was in the pattern.

img_3045

What you can’t see from the pictures is, there is also a lining in the sleeves and back of it. It’s cotton with autumny oak leaves all over it. I like it since now I don’t have to feel the little bit prickly wool against my skin.

img_3658-copy

I hand stitched the hems on front pieces. This way you can’t even see the stitching itself. After that I crocheted over the edging with some plant-dyed wool yarn.

img_3664-copy

The colouring on the yarn is farely subtle but I found it nice on the fabric itself. I also quite like how the fabric has two completely different patterns on different sides and you can actually see them both while wearing it.

img_7961-copy

Photo:  Karlo Salu.

The cut of the jacket was a bit complicated and unusual but I’m proud I made it. I also altered it a bit as in original it had 3/4 sleeves and I wanted long. I also didn’t do the pockets but as I was in a hurry finishing it but I’m thinking of adding them sometime now.

img_7953-copy
Photo: Karlo Salu.

I have been able to wear it a few times already and I like the feel of it – lightweight but warm, also loose enough to let some air in when needed.

jakk
Photos: Karlo Salu.

My First Dress, Belt and Traditional Leather Shoes.

Here is another combo of some of the things I did in school while I was studying textile work. This grey linen dress is the first one I made. I might have done something in middle-school too but that was more like a night gown probably. There is also a woollen belt included and some leather shoes.

img_7923
Photo by Karlo Salu.

It was our first “real” sewing job on the first year, a real garment. For this one our initial task was to make a simple shirt dress, everyone using the same cut, but as most objected to that, we got to choose our own. The only rule was now, it had to be linen.

IMG_7926.JPG
Photo by Karlo Salu.

I choose a nice loose cut for myself so it would feel good to wear in summer. Might be a bit dark as far as that goes but I liked the colour. The textile itself is a bit to the rough or more rustic side but I feel it will soften by time and washing a bit.

I think the hardest part for me in that point was the yellow edging. It’s not as pristine as I would prefer but practice makes perfect, right?! Over all I’m cool with it.

In another class we had to make an at least 2 m long belt by card weaving (that you can see here on my dress). I dreaded it and left it for the last minute. After making the construction out of a wooden broom stick, some screw-in hooks and some fishing swivels and measuring out the yarns it was so easy that I accidentally made it longer.

img_3274

I used 11 cards and three different colours of yarn. As the matter of fact it’s my second colour combo here as I completely messed up measuring the first one which had more green instead of blue. This is the option I had left with the yarns I had in hand.

img_3278

Although I’m not a big fan of blue, I really like it here and I also really ended up enjoying the whole process. Next time I would like to get the yarns measured out the first time. What an awful waste, but I’m sure I’ll find a use for them too.

img_7930
Photo by Karlo Salu.

Last but not least here might or might not have also noticed that I’m wearing some strange leather shoes here. These are my first ones that I made in a one-day training about four years ago now.

img_7966
Photo by Karlo Salu.

Leather work was also one of the reasons that I choose that school, so far away from my home but in the end I didn’t get it for some really strange and obscure reasons. Another time, I guess.

N is for Narwhal

Back once AGAIN. I’m being really inconsistent with my blog but this is how life is and I’m just trying to figure things out for myself at the moment. Currently I’m again not working so I’m at least trying to keep things more regular here. First – continuing the alphabet project.

Narwhals are like real-life unicorns of the sea, aren’t they! This makes it a fairly obvious reason of making one for my alphabet. I actually made it before  the break in blogging but I think I remember most of the details in the making.

img_4858

I used cotton yarn and 1.5 mm hook for making it. It’s really tiny and tight so I couldn’t even use safety eyes so I embroidered a couple of seed beads instead. (Does anyone know if there is an alternative for tinier amigurumi?) I think he looks adorable.  I took the picture today so it looks a bit sad and gloomy as is the weather here, wanted to leave it as is, sorry about that.

Pattern I  made up as I went on. It begins as my basic amigurumi head-body but then I cut it off and crocheted another circle of white in the same circumference and sewed  it to the bottom. Fins and tail are sewn on the same round. Stuffed it with wool.

Having gotten this far with the alphabet I’m thinking it would be a cool picture including all of the characters and things I have crocheted for it. I hope I still have them all as I tend to give my amigurumis away every once in a while. (:

Pair of Wool & Dog Hair Socks.

Today I would like to share my knit socks that I did for school. Only rule was they had to have some sort of multi-coloured pattern in them. I had bought this gray yarn a little before and thought it’d be great gauge and feel for a pair of socks. By that time I had forgotten it had dog hair in it. Halfway through with the knitting I begun to think it was something odd as it had some dark and straight strands in it.

I didn’t want to make my socks too high as I am a slow knitter and I wanted to have time for other schoolwork as well. Partly as for the same reason but also because I like minimalistic and simple things I didn’t want to use many colours or patterns in general too.

In addition to grey, the blue yarn is a regular wool that I also had bought before and now found useful. I also had a yellow wool but it turned out to be too fine. It was much harder than I thought to find a suitable yellow for my project but I ended up with one merino that was similar enough.

kooliasjad (3)

Although at first I wanted to use a bit darker yellow I really like how it turned out and am quite happy with the shade. After washing the socks turned out extra fuzzy and soft as for the dog hair. Dog hair is also supposed to keep warm well so some extra bonus for that.

I tried out a new technique for the heel that turned out to be much easier than the one I was used to use but it also doesn’t create as much of an angle. Overall I don’t feel it influences the comfort of them. The increasing was also kind of new fro me and I can’t say I love the visible twirls but at least I got to try it and know better next time. That’s what school is for, right.

The yarn was 8/3 gauge (or similar) and I used 2 mm double pointed needles.

PS! The pictures only have one on them because I only had one finished by the time I was putting together the folder/album for the end of first school year. I finished the second one in school so I still managed to do it on time.

L is for Llama.

Here I go again to continue with my amigurumi alphabet. I am determined to finish however long it takes. This time I’m not so sure how clear it is, when you look at the animal, who I created this time but I still think it turned out adorable.

Once again I used my almost traditional base and crocheted a llama. I really like llamas! I even considered a different version and even did a little sketch but making characters all in one shape has become a challenge on its own.

It has the classic base with white head and brown body with white hands and brown legs. I also added a white muzzle and brown tail and two ears with one of each colour. Last but definitely not least is the fluffy mane. I had really fun making and arranging it later on. Endless possibilities with the haircut here! Of course it also includes 6 mm safety eyes and nose. Yarn is 100% organic cotton and it’s stuffed with pure wool. I used a 2.25 mm crochet hook.

IMG_4430

In this case, as of many others, there is actually so many possibilities and variations for the colours. I googled a bit and found one fellow with white front and brown behind with a mixed-coloured head. I think it looks fun although I’m not completely settled with it. I’m thinking if it needs any changes but not sure if or what. What do you think? Does it look like a llama enough?

IMG_4441

In the past I’ve had problems with my characters sitting properly. Sometimes they tend to fall sideways. Lately I’ve been trying to pay more attention on legs and tail placement to improve it but as you can see this one is still not really leaning on it’s tail, although it sits nicely anyways.

Next up in the amigurumi alpahbet is M. What could it stand for?

Crochet Kihnu Lace.

This one is again one of my schoolworks. In our crochet lessons we learnt about traditional Estonian lace, that is white and and coloured. One task was to use coloured lace in an item. You could make it or use an existing one and give it a refashion.

Most of traditional coloured laces are fine wool (Seto lace) but I wanted to use cotton so I got to choose from Muhu or Kihnu lace. I choose the latter as it seemed the least used and the small wheels or flowers looked like would work the best for my plan.

IMG_20150517_214727

I decided to refashion one of my favourite summer dresses a bit. I liked it as it was, simple and light but I needed to do something and I do like to take challenges. The dress was in blueish-whitish-pinkish shades and one part of our task was to use original colours from the lace. Seto lace would have been much harder to put into something as for its material but also for the colour scheme. For Muhu lace it was more the super bright colours were the thing to throw me off. Kihnu lace seemed like a nice mid-ground between them.

IMG_6323
Photo by Karlo Salu.

As I took it to school to show my teacher, I had no idea how she would react. Again I was utterly surprised and pleased to find out she loved it. She said it takes a good eye to match coloured lace and printed fabric so well. I never even thought about it that way! I just thought it looked nice and went with it.

IMG_9812

I used Iris cotton yarns and 0.9 mm crochet hook. I made all the wheels and then connected them with red trims from both sides. Top trim had an extra row to straighten it up for sewing and bottom trim had some small picots on it.

How do you like it?

K is for Koala.

Time for the next letter in alphabet – K. For this one I attempted on making another animal based on the same form as my thesis. The body and limbs were simple and standard as I make them for anyone. Interestingly enough I found out that Koalas have no visible tail, not even a small one. The main part of the ears (grey) was also pretty basic but adding the white was much trickier than it seemed. It tended to be too much or too little and in the end they are not completely identical but in such cases I figure this is nature, it doesn’t always have to be the same.

IMG_4267

This fellow was also one that I took into a shop for sale among some other older ones that you have already seen (i.e. donut, two monkeys etc). We’ll see and hear in some while how it went and if anyone had interest in them. I really like the grey, black and white combo here and the fact that the grey is also somewhat speckled, gives it a more natural feel.

Black yarn I used for the nose is organic cotton, grey is recycled cotton and the white fluff is made of organic cotton and silk blend. The last one I also brushed a little to give some extra fluffiness. Crochet hook I used was 2.25 mm, safety eyes 6mm and safety nose 7 mm. It’s stuffed with pure wool.

How do you like him? I’m looking forward to making other animals and creatures on my amigurumi base, I love experimenting like that. What kind of characters would you like to see? What else would you like me to make in addition to amigurumi? Let me know in the comments! (:

School Summary

As I have mentioned multiple times, I went to school for the last two years to study textile works. During most of the time there I was not sure at all that I would finish but now that I did, in some sense I feel more accomplished than I did graduating university six years ago.

First year was overall much easier than the second. One thing being that sessions were  about once every 1.5 months but last year they were every month. It was intense, we had lots of practical homework and I fell behind. As the youth centre I worked in was going through some major structural changes and many of my collegues had left due to that, I had started thinking of finding something else too. Part of because the lack of motivation, part of to find some more time for school.

In October I found what I thought to be a nice easy job in a cafe in Tallinn Airport. I went there to try it out the first time for about 3-4 hours and it felt good. For the first month I was scheduled to work sometimes in the mornings (starting at 4 am), sometimes at evenings (finishing around midnight). From there on I was put only for the mornings and I realised it didn’t work for me. Waking up at 3 am for such long periods of time is not sensible because there will be no routine as on my days off I’d always sleep longer. Plus it felt sad to go to bed at 7pm the night before. The schedule of my first month made so much more sense and felt more humane. My boss even mentioned that they used to have it like to weeks of mornings and two evenings but some didn’t like that. My guess is that was the evening shift.

Another reason was that for the first time ever I had to take a sick leave. Which iin itself is nothing but it was because something I never had before. Horrible dizziness, felt like I was going to pass out. The best was just to lie down and not to move. Plus a strange rash around my eyes and some stomach problems. Last I’ve had before but it hadn’t felt as bad for ages. Perhaps it was the stress or some allergy (one of my collegues caught a bad one) or both or neither. It’s long gone now so I guess we’ll never know. During the sick leave they kept calling and checking if I felt better and could come to work. I can’t say it helped with the stress! Not sure if it’s the norm for when on sick leave but I would have called if I was going to end it, which I eventually did!

At the beginning of February I filed my application to leave the job. It was just too much with all the night shifts of 10-12 hours (which may stretch!) and the school and the health problems. First couple of days after quitting I felt the dizziness and then it was it. Nothing like it before or after working there.

I dedicated all my time for school and graduating. I focused on finishing all the stuff I had fallen behind with and working on my thesis. For the session in April I managed to do everything but the ones that for meant to be done by May (some finished them in advance as well). Plus the thesis of course! I also did  some job searching but as nothing caught my eye, I decided to at least finish my thesis first.

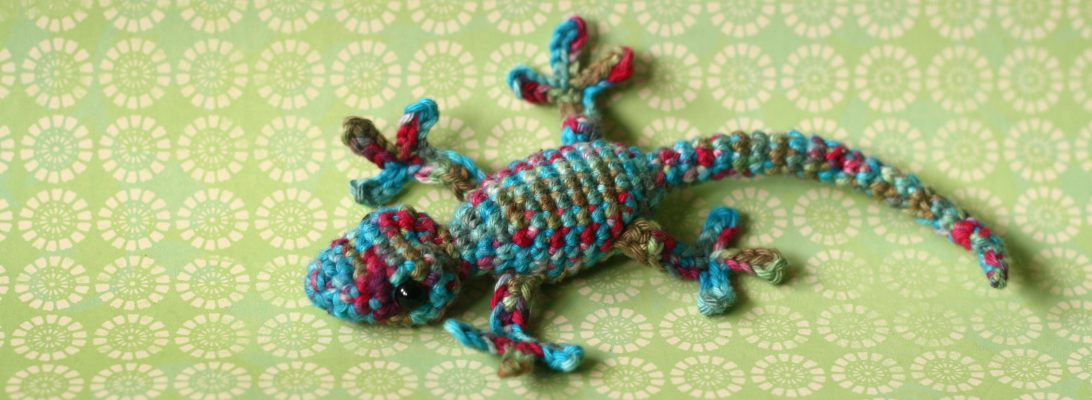
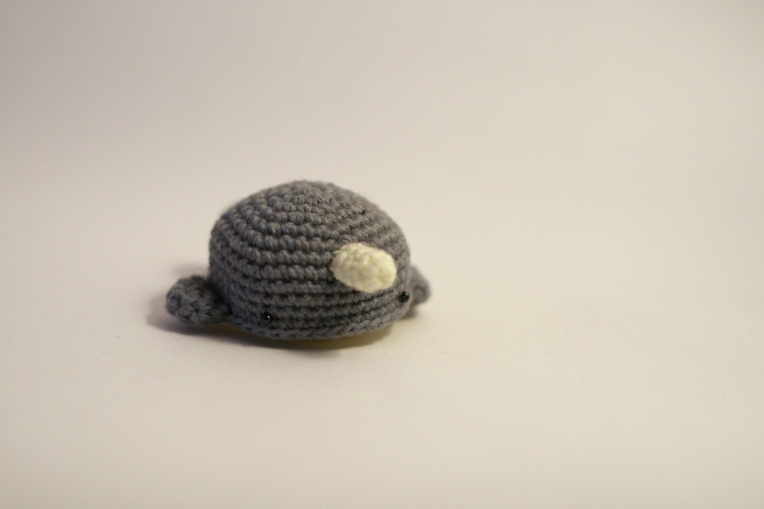
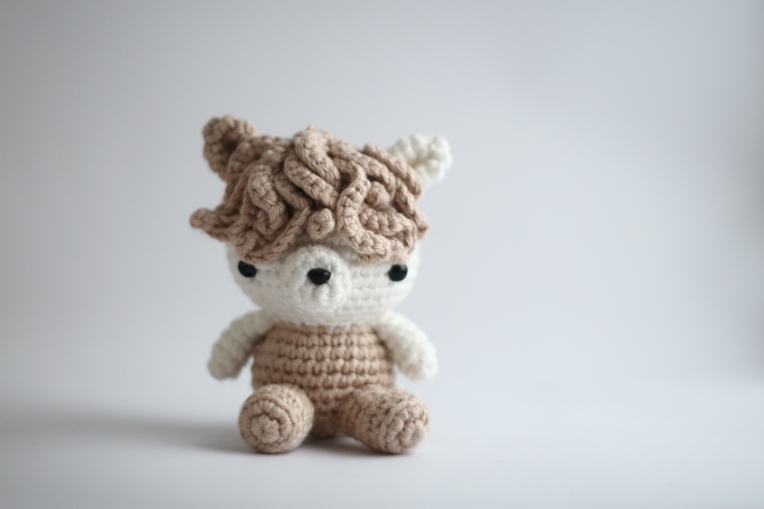
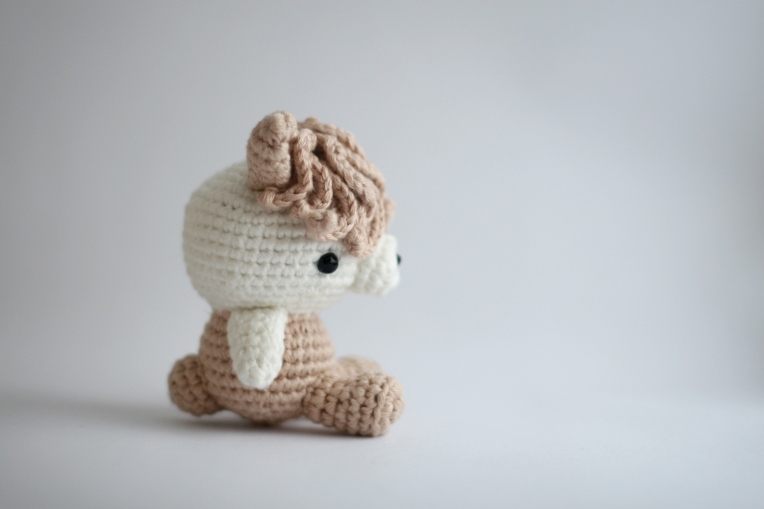
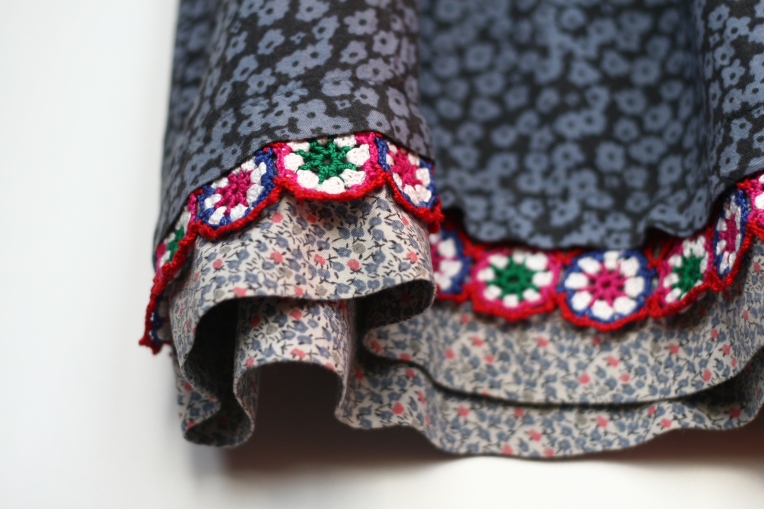
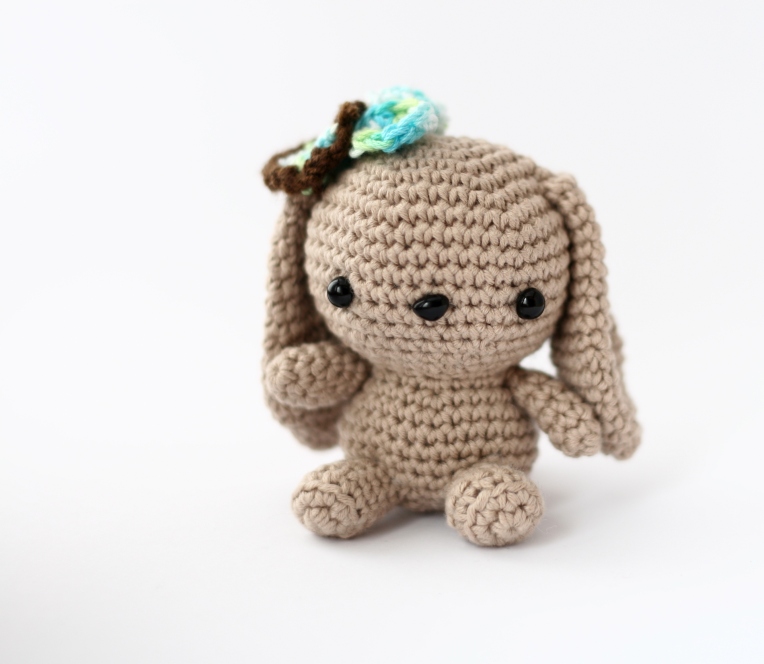
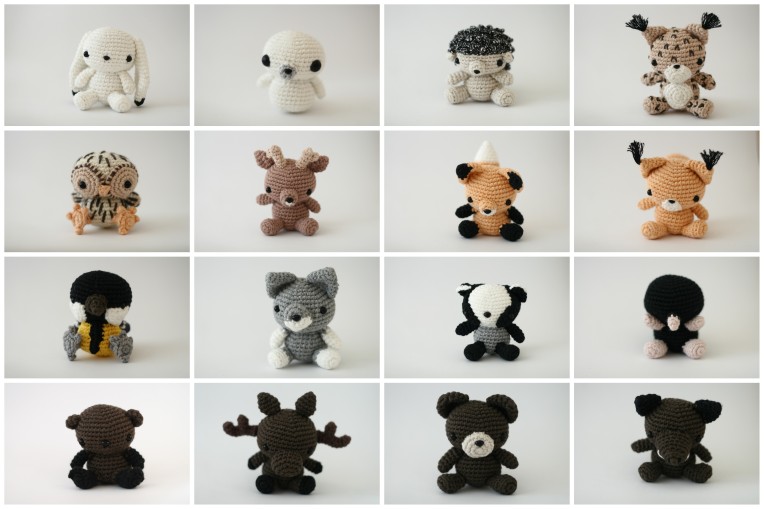
My thesis consisted of 16 amigurumi charachets, 14 animals and 2 birds and the instruction manual for them. At first I was thinking of making only one bird but then the official name had it plural in it so I made two. At one point I was even thinking animals only but my teacher and classmates loved it and after some alterations I did too. All of the characters were worked on the same body that I had made a bunny of a few years ago. This old one looks and feels so much softer and looser but I still adore her! Oh yeah, the flower is also gone now.

IMG_2878.JPG

Crocheting them all took a lot of time, writing the patterns down took a lot of time, plus writing the thesis and designing the pattern book. It was a very stressful period and I’m sure that attempting it while having a job also would have been a failure. Including the fact that of my first years classmates (I was the only one who choose sewing and not loom weaving) only one other than me graduated, everyone else took an academic leave. I was also quite close to that.

In my head I had thought everything out and even started to imagine the characters all in one shape. I even managed to put some sketches on paper. In reality it was much harder and for some more than others it demanded quite an amount of unraveling and starting all over again. The sketches helped with visualizing and I even wrote some notes to the side of them specifying the colours etc.

kavandid

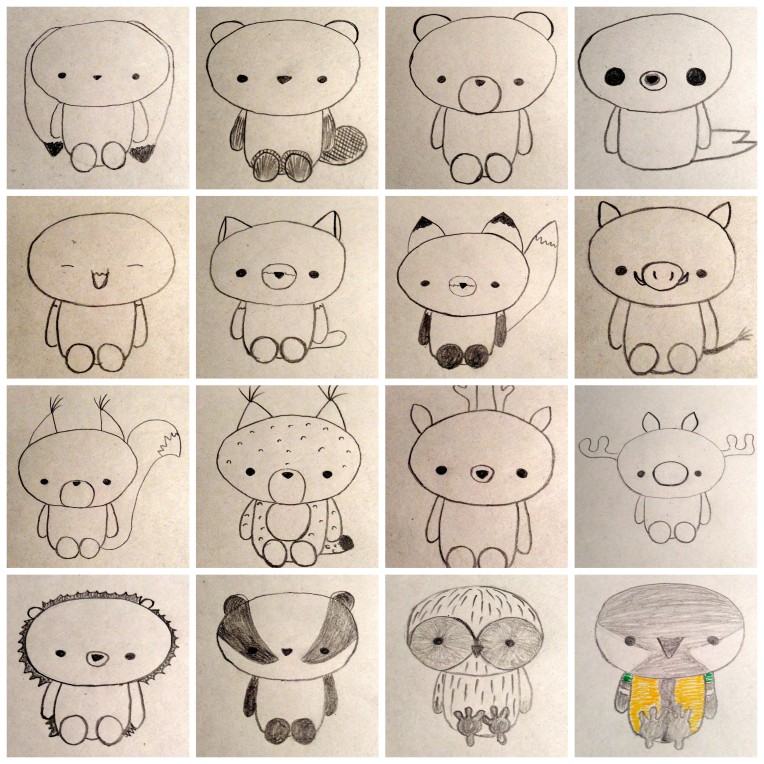
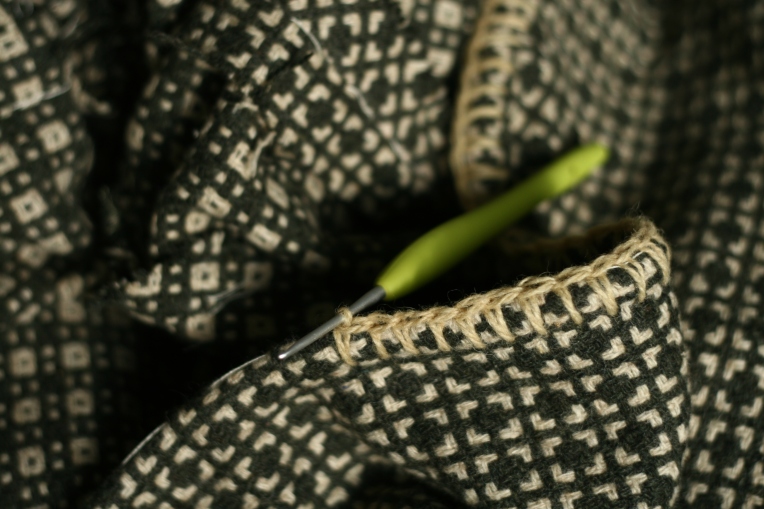
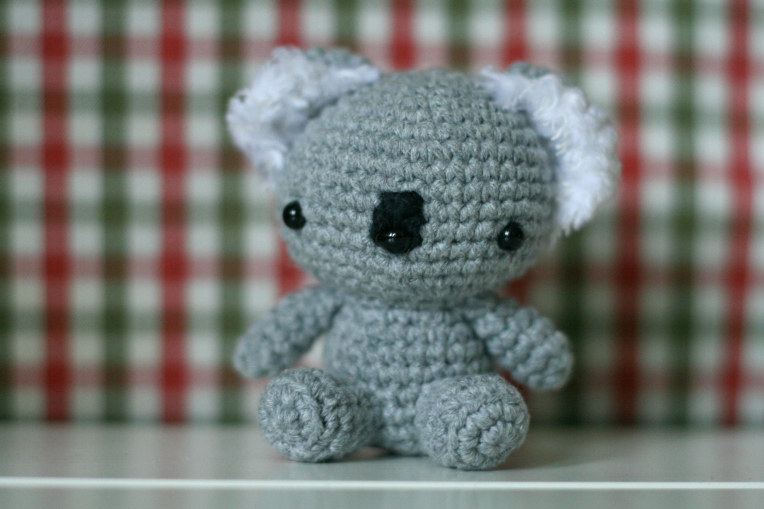
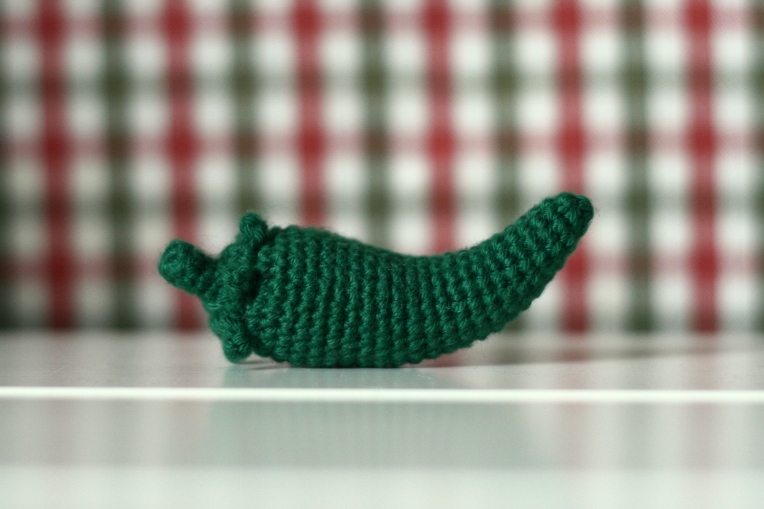
I used mostly organic cotton yarns but also some recycled cotton ones in the weight of 50g/~100m. My crochet hook was a 2.25 mm one and I stuffed them with wool. In addition I used 6 and 10 mm safety eyes and 6 and 7 mm safety noses. For the sewing and details I used large eyed blunt needle. This is what I got: mountain hare, ringed seal (baby), European hedgehog, Eurasian lynx, Ural owl, roe deer, red fox, red squirrel, great tit, gray wolf, European badger, European mole, beaver, moose, brown bear and wild boar. I’m thinking of making more birds in the future and perhaps some domestic or more exotic animals too. There is tons in the wilderness to make!

lõputöö (2)

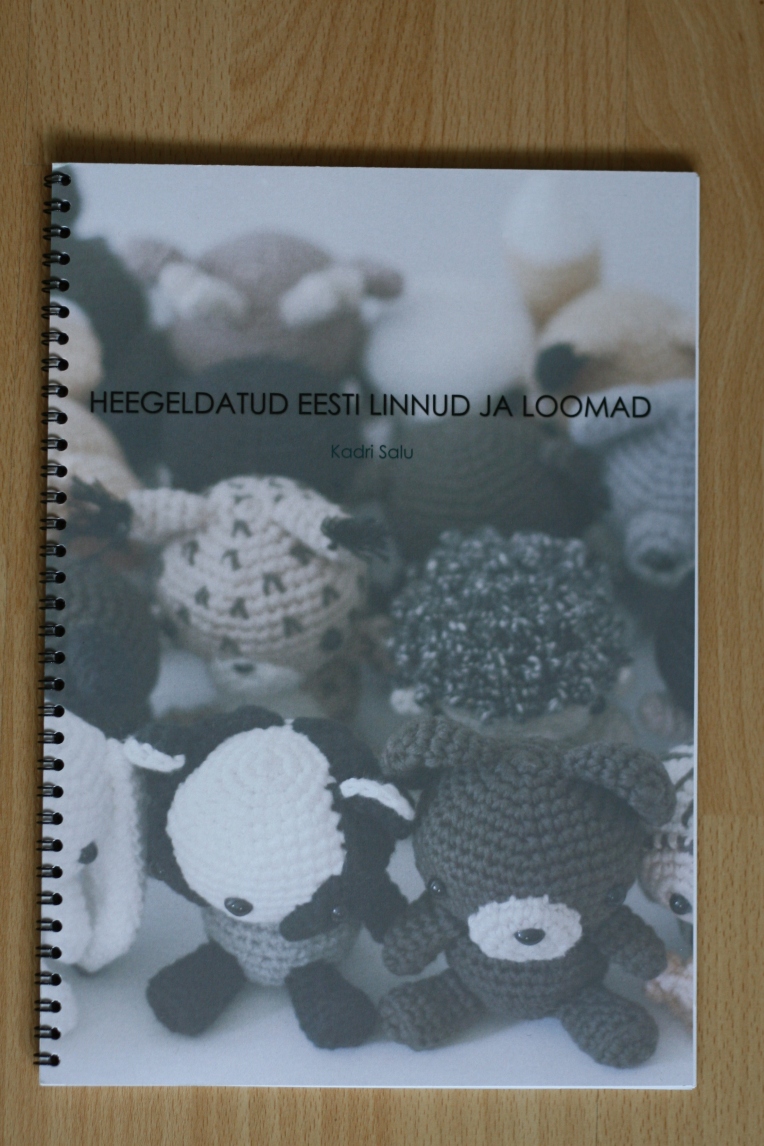
As I was really in a hurry I designed my pattern book in  MS Publisher. I tried to find a template to make it even more easier but as nothing worked I started from blank. Overall I am pleased how it worked out. Every pattern has a photo of the character as well as one of an actual animal and a short description of it. Of course if I really want to publish it, I need to tweak it a bit more. Also I want to translate it into English. Would of you buy a book like that? Or perhaps a single pattern? What would be a reasonable price range for you? The title reads “Crochet Estonian Birds and Animals”.

IMG_4210

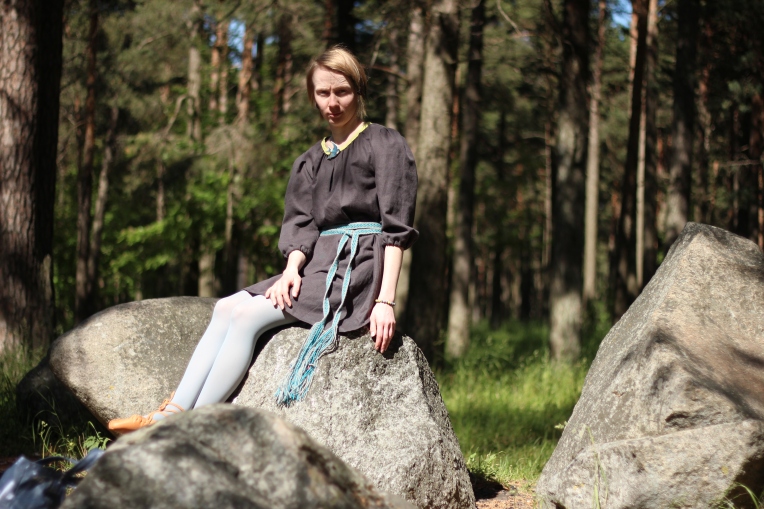
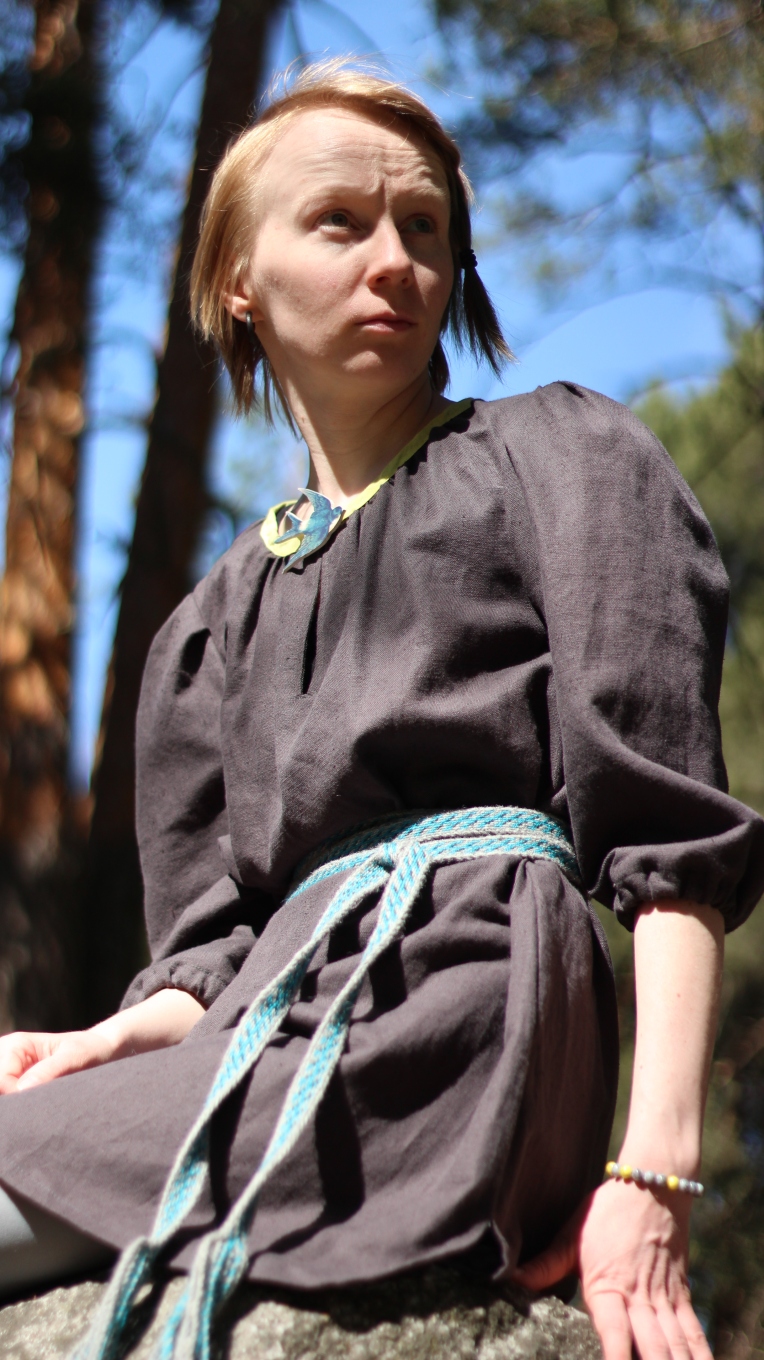
To defend my thesis I also had to put together a portfolio of my two years works for assessment at the time that I was giving my speech. You will see the works included here in the future if you haven’t already, plus some that didn’t make it there. My portfolio had a short description of me and my impression of my work and studies and this kind of a ‘table of contents’ of sort. I was nervous about not writing anything next to the photos as everyone else did but how big was my surprise when our teacher and main tutor for the thesis brought it out as an excellent example! I was so chuffed and relaxed at the same about it! My little brother helped me with the pictures that I’m on. (:

Portfoolio3

The defending speech was supposed to be 5-7 minutes and as I practiced I got 5 exact, when reading very calmly and slowly so I was nervous about that too. I scratched some text off and wrote some new on the last minutes, listening to others and was not sure at all what it would do to the overall length of it. I was extremely nervous on my turn but everyone said it didn’t show and the committee gave me a really positive feedback! The nervousness was not at all reasonable!

In the end of it all they gave us an hour to decide and grade everyone fairly. We were graded in numbers 1-5 with 5 being the best. In reality it took about 1.5 hours. Although my overall feeling was good I kept thinking about the rumour that others said about everyone not getting the best grades as someone needs to be lower. It felt a little jittery during the whole waiting time. In the end I found out I (amongst most others) got 5 as the highest possible grade I was so happy! I did it, I graduated and I got a good grade and a level 4 vocation as a textile work  apprentice. Plus many wanted to buy my book that doesn’t even exist yet! How cool is that?!

Chuffed to bits!

Looking for a job.

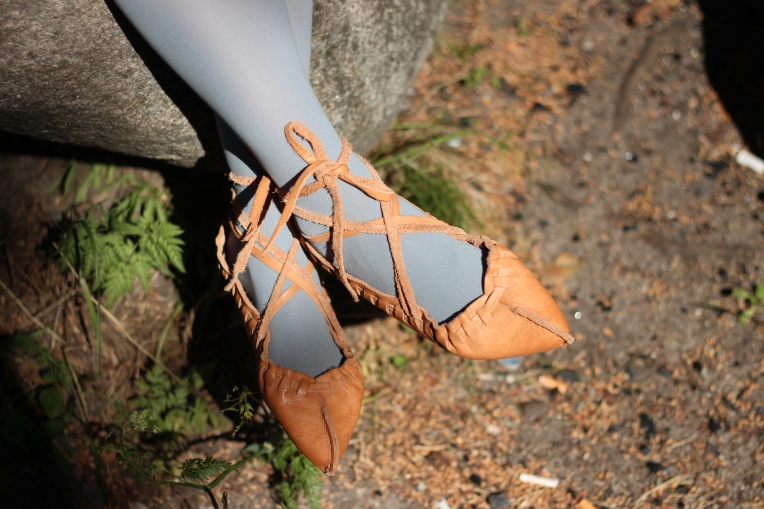
PS! One thing that I do regret regarding school was that picking sewing instead of loom weaving (because I don’t own a loom nor have a room for it, it didn’t make as much sense) I fell into a group that had chosen optional courses that I had the least interest in and due to that I missed leather work and ancient craft techniques which were kind of why I choose the school in the first place. It’s a pity but well, that’s something for the future, I guess.

J is for Jalapeno.

This is the thing, kind of edible jalapeno. Not my favourite kind of food but interesting looking enough to try and make it into amigurumi. I googeled a little bit t find the closest colour of yarn from my stash and found out I really have only a few greens. So this is as close as I could get, perhaps a bit too dark and cold shade but recognisable, I figure.

IMG_4255.JPG

It’s a simple little figure. I worked it from the wider end toward the thinner and then added the stem part later. I didn’t use a pattern but made it up on the go instead. The yarn I used didn’t have the label anymore but I’m pretty sure it was HP Garn Love Garn, it’s a nice 100% cotton. The hook was an old soviet time hook that didn’t have a size marked on but my guess is it was somewhere between the 1-1.5 mm range. I stuffed it with some spare wool I had left from my thesis.

Once again I got some reassurance that old hooks and amigurumi don’t match. At least not in my hands. They are simply too thin and long. Perhaps for some lace etc they would work better. So far my favourites are Japanese-made that are shorter and have a nice soft grip (Clover Amour and Soft Touch).

Next in the alphabet is K and this time it would be a live organism. Any guesses who would come up? Hit follow and don’t miss out! Maybe there will be some non-crochet crafts meanwhile.